In this step you learn how to use the Pages window to create the structure for the user interface of your Kanzi application and then use the Assets window to add content to your application.
Create user interface structure in the Pages window
Use the Page and Page Host nodes to create different parts of the user interface in your application. These nodes can contain parts of an application or even entire applications within your application.
The most efficient way to work with Page and Page Host nodes in Kanzi Studio is the Pages window. Use the Pages window to:
Create the application structure using Page and Page Host nodes.
Navigate between different parts of the application by clicking a Page or Page Host node.
Visualize the Page and Page Host structure of your application.
You can find the Pages window below the Prefabs and Properties windows.
To create user interface structure in the Pages window:
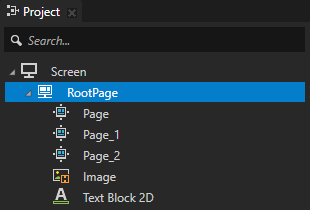
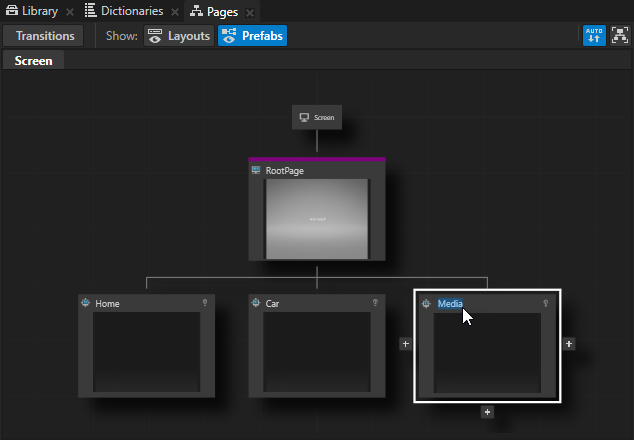
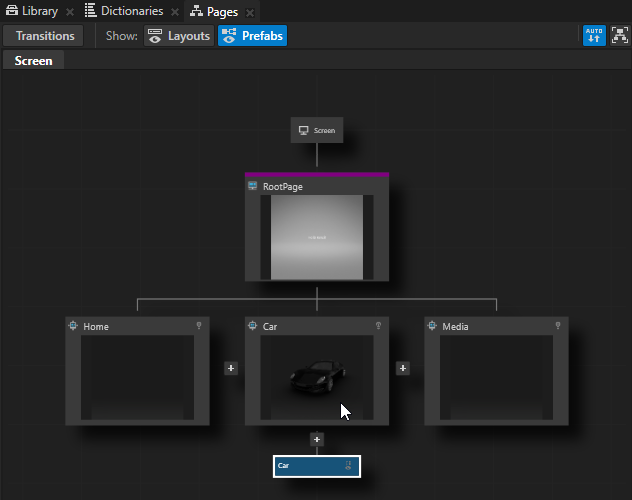
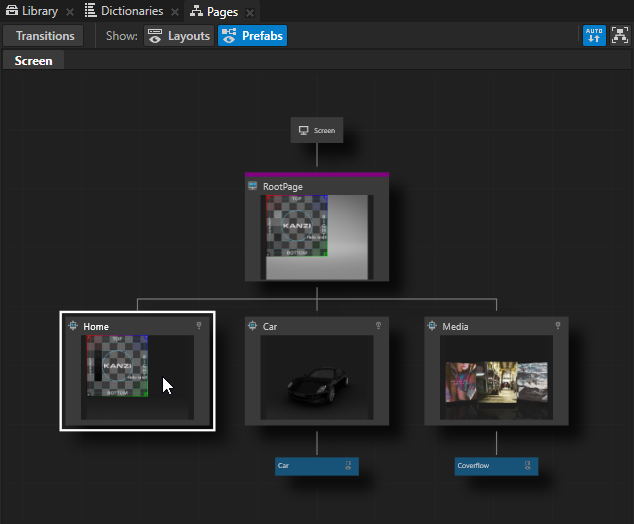
In the Pages window move your mouse pointer over the RootPage and click three times to create three Page nodes under the RootPage node. When you click a Page node in the Pages window Kanzi Studio transitions to that Page node using the Push transition. Because there is no content in the Page nodes you just created, clicking does not have any visual effect in the Preview. When you create nodes in the Pages window, you can see the same nodes in the Project window too.
To pan and zoom in the Pages window, use these shortcuts:
Action
Shortcut
Pan
Click and drag the middle mouse button.
Press the Space key, and click and drag the left mouse button.
Zoom
Scroll the mouse wheel.
Press the Shift and Alt keys, and click and drag the left mouse button.
In the Pages window double-click each of the names of the Page nodes you created in the previous step and rename them. For example, name the nodes Home, Car, and Media.
TIP
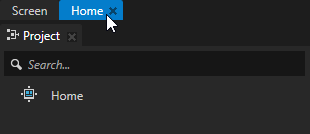
When you double-click a Page or Page Host node in the Pages window Kanzi Studio opens that node and its tree in a separate Preview window tab. When the complexity of your application structure grows, this allows you to view and work on only specific parts of your application.
Use the factory content in the Assets window
Kanzi Studio comes with 2D and 3D assets you can add to your application. This factory content is ideal for creating prototypes without spending time on creating assets to demonstrate your ideas.
You can find the Assets window below the Preview window.
To use the factory content in the Assets window:
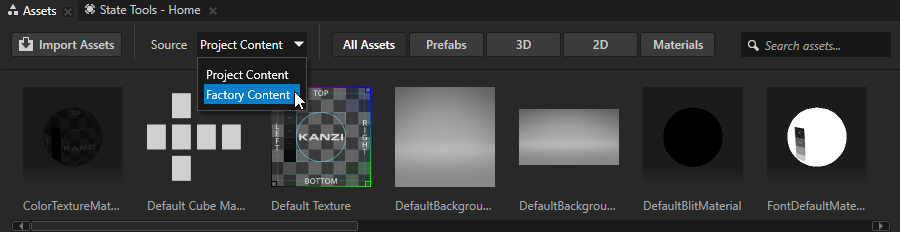
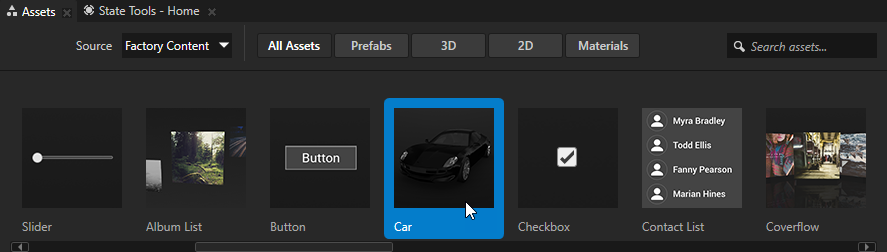
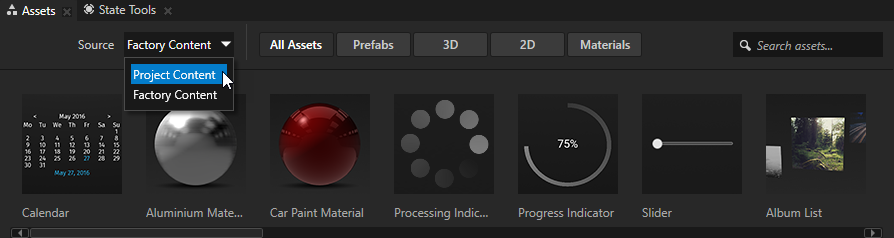
In the Assets window set Source to Factory Content.
From the Assets window drag the Car to the Pages window and drop it on the CarPage node. When you drop content on a node in the Pages window, Kanzi Studio adds to that node the content you dropped.
Repeat the previous step, but drag the Coverflow and drop it on the Media node.
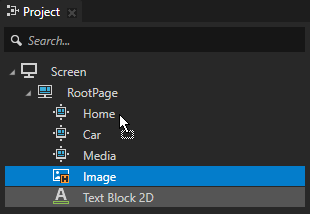
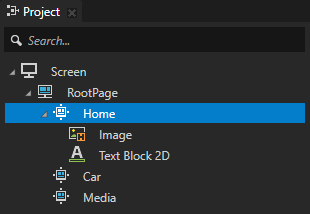
In the Project window hold down the Shift key, click the Image and Text Block 2D nodes to select them, and drag them to the HomePage node.
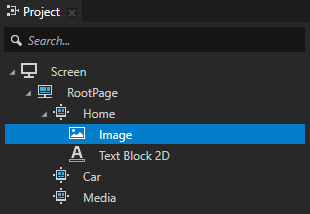
In the Project window select the Image node and press the CtrlH keys to show the Image node.
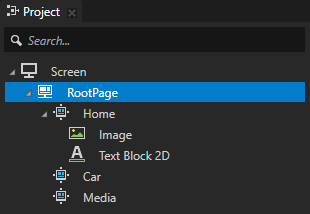
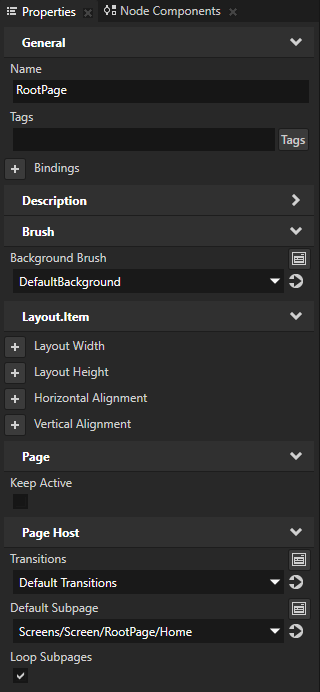
In the Project window select the RootPage node and in the Properties window set the Default Subpage property to the Home node. By setting the Default Subpage property you tell Kanzi which Page or Page Host node to activate when this Page Host becomes active.
In the Pages window when you click a Page or a Page Host node Kanzi Studio transitions to that node. This enables you to try out the structure and flow of your Kanzi application user interface without creating interaction elements, such as buttons. In the next step of this tutorial you add the buttons to the user interface.
Import content in the Assets window
In this section you learn how to import to your Kanzi Studio project content you created with other tools and use that content in your Kanzi application.
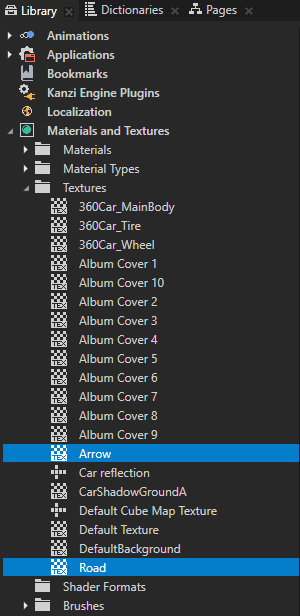
When you import content to your project, Kanzi Studio copies the imported content to the project directory and, when needed, in the Library window creates Kanzi resources from that you can use that content in the project. For example, when you import a .png image, Kanzi Studio creates a Single Texture resource, so that you can use that image in your project.
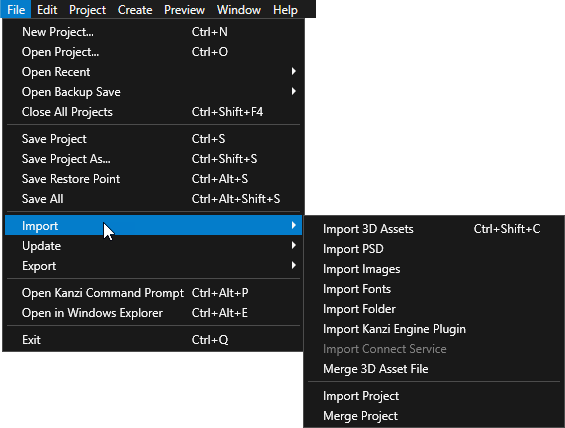
You can import and view the content in your project in the Assets window or in the main menu by selecting File > Import and selecting the type of content you want to import.
To import content in the Assets window:
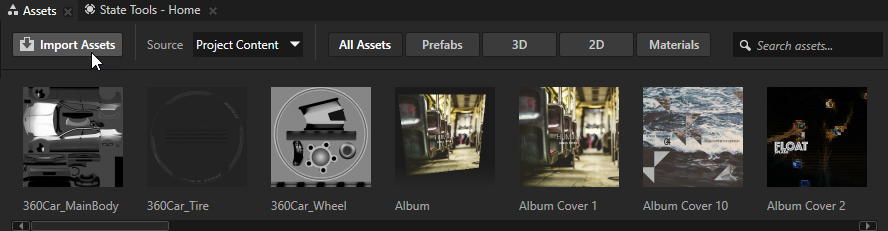
In the Assets window set Source to Project Content.
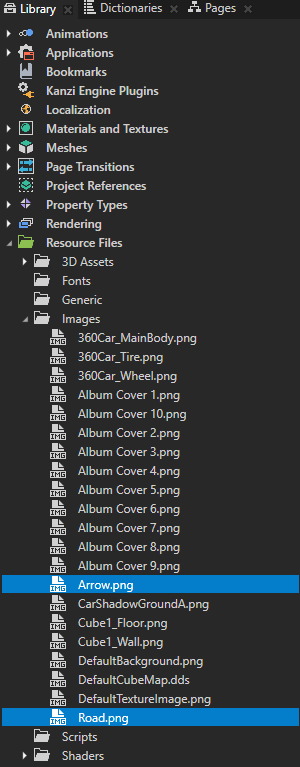
In the Assets click Import Assets, select the content you want to import, and click Open. For example, go to <KanziWorkspace>/Tutorials/Getting started/Assets and import all content. Kanzi Studio copies the imported content to the project directory you can access in the Library window under Resource Files and in the Library window creates Kanzi resources from that content so that you can use the imported content in your project.
In the Pages window click the HomePage node to go to that Page node.
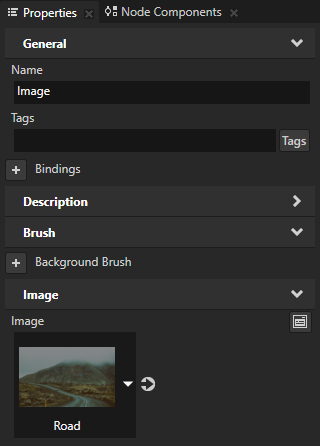
In the Project window select the Image node and in the Properties window set the Image property to the Road texture.
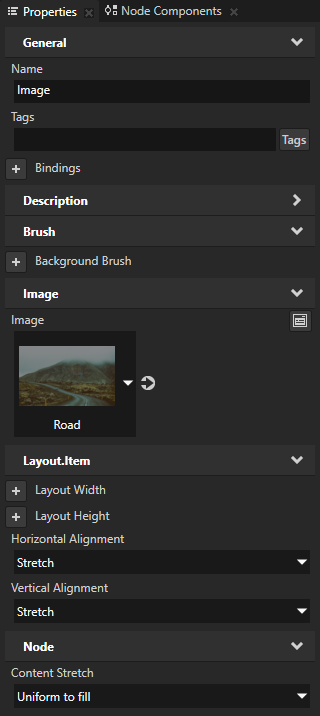
In the Properties window add and set these properties:
Horizontal Alignment to Stretch
Vertical Alignment to Stretch
Content Stretch to Uniform to fill Use the Content Stretch property to set how the node stretches the content in this node without changing the node size.
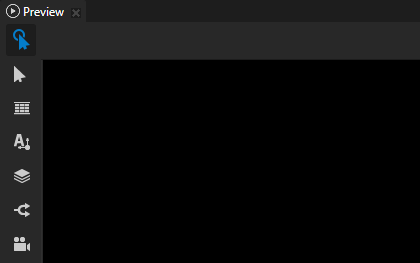
In the Pages editor when you click the Page nodes, the Preview window shows the content of the Page node you click.

 three times to create three Page nodes under the RootPage node.